















Quick answer: use the send later option to schedule email Outlook (limits apply)
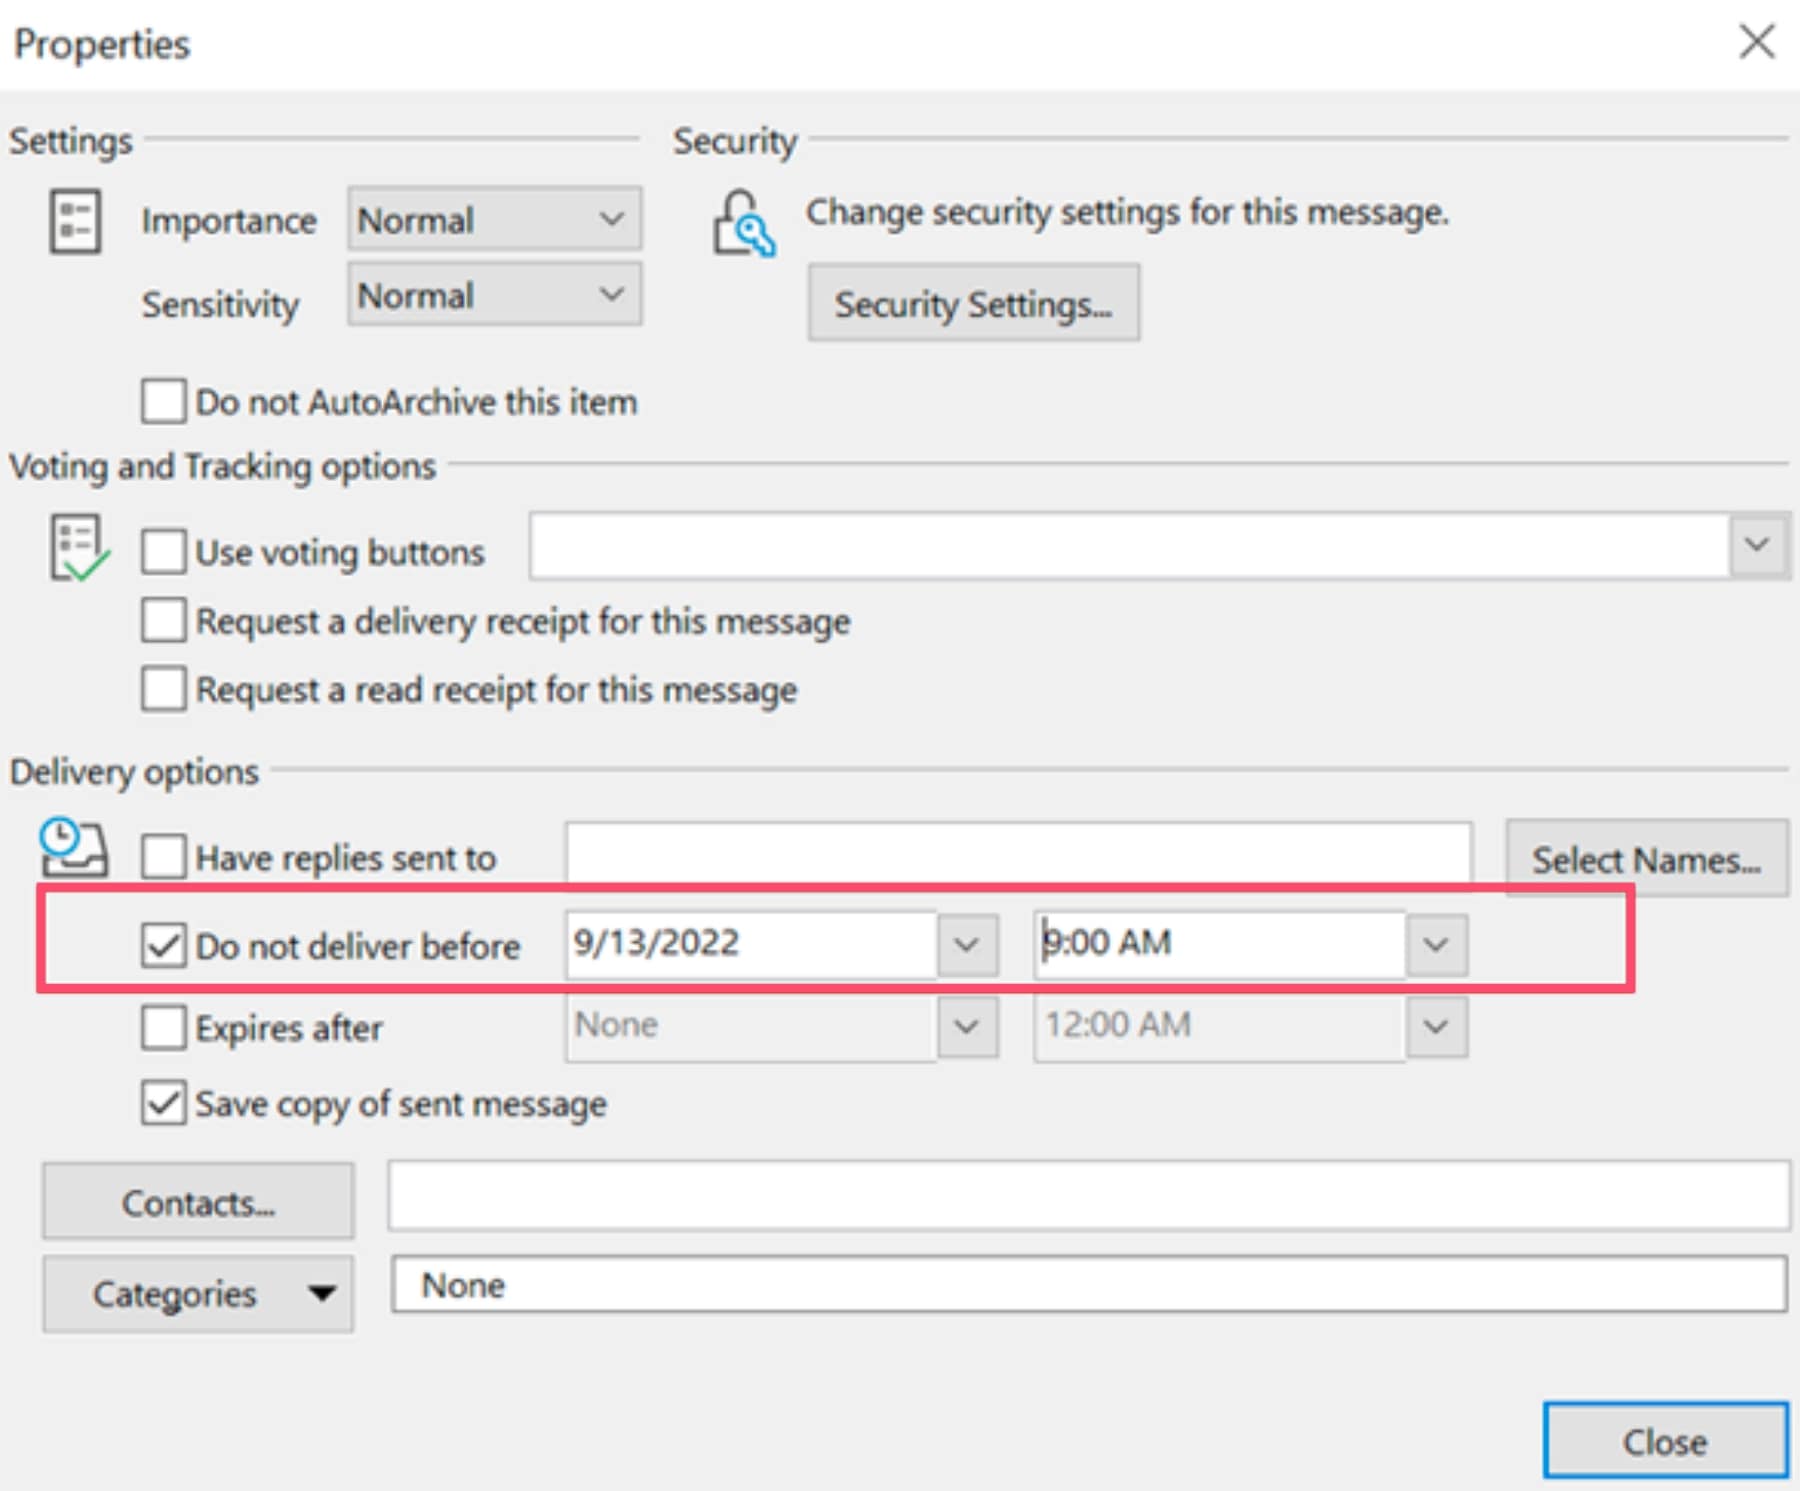
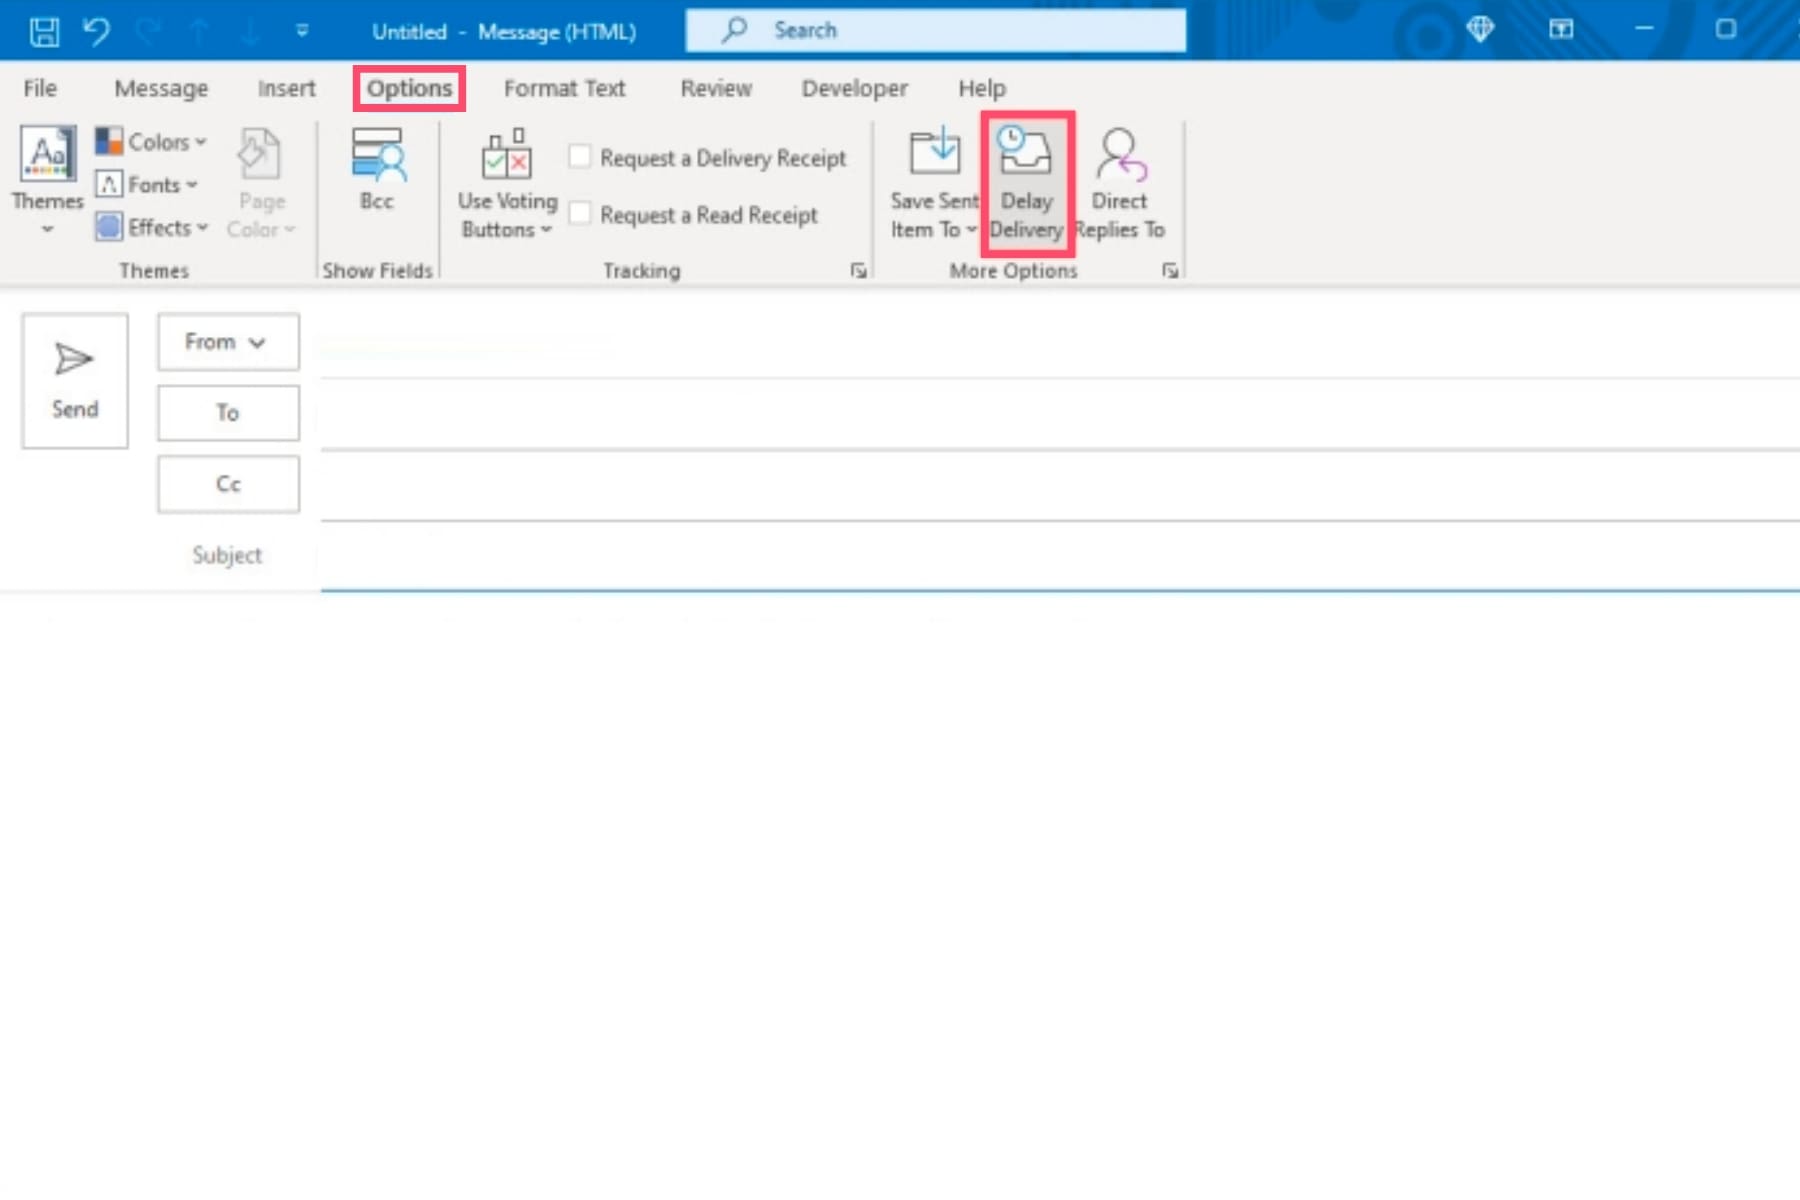
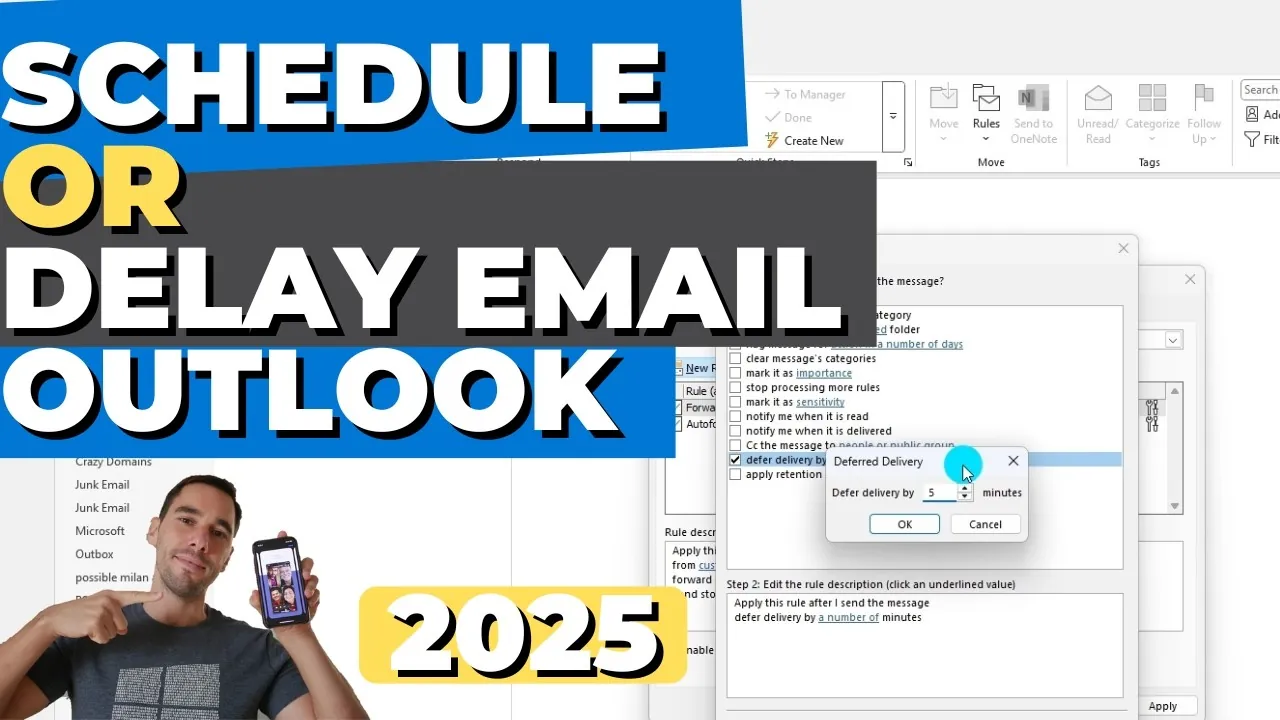
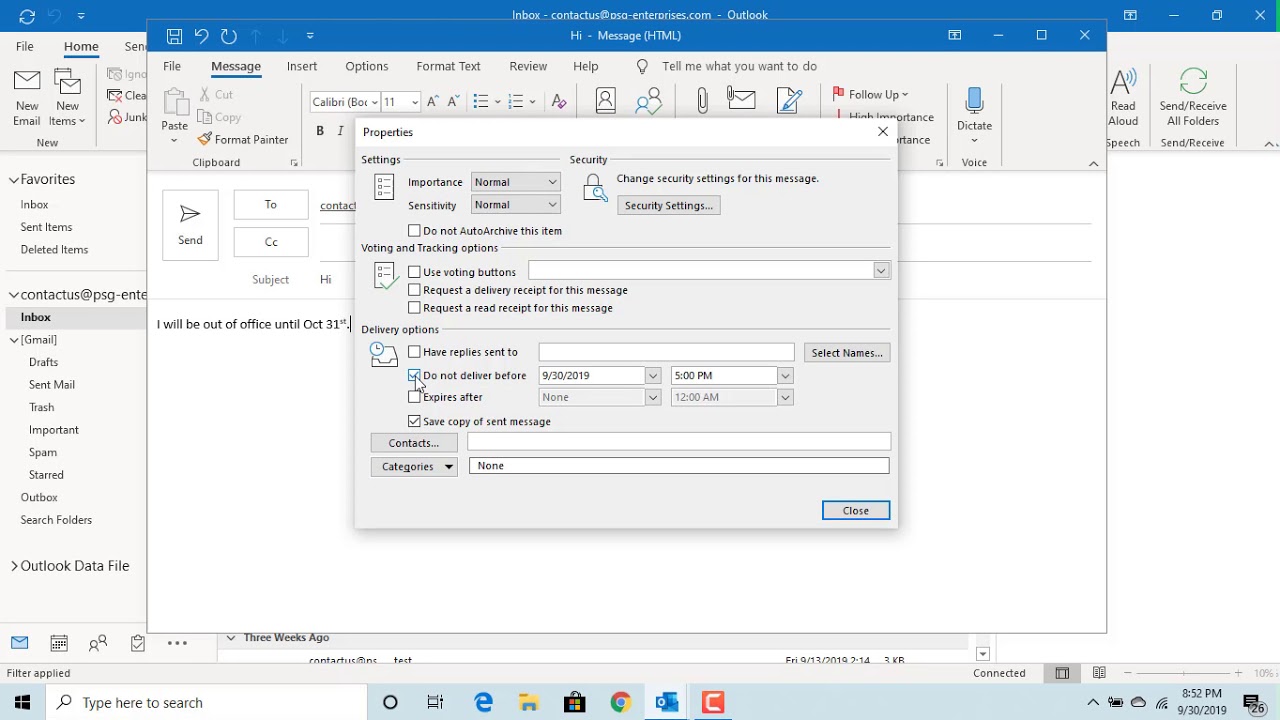
If you prefer a one‑time delay, the classic delayed delivery setting can be used instead of the newer Send Later option. It works the same way by placing the message in the Outbox until the chosen time.
The Send Later feature requires a Microsoft 365 or Exchange account; it is not available for POP/IMAP accounts. This limitation ensures the email server can handle the scheduled delivery.
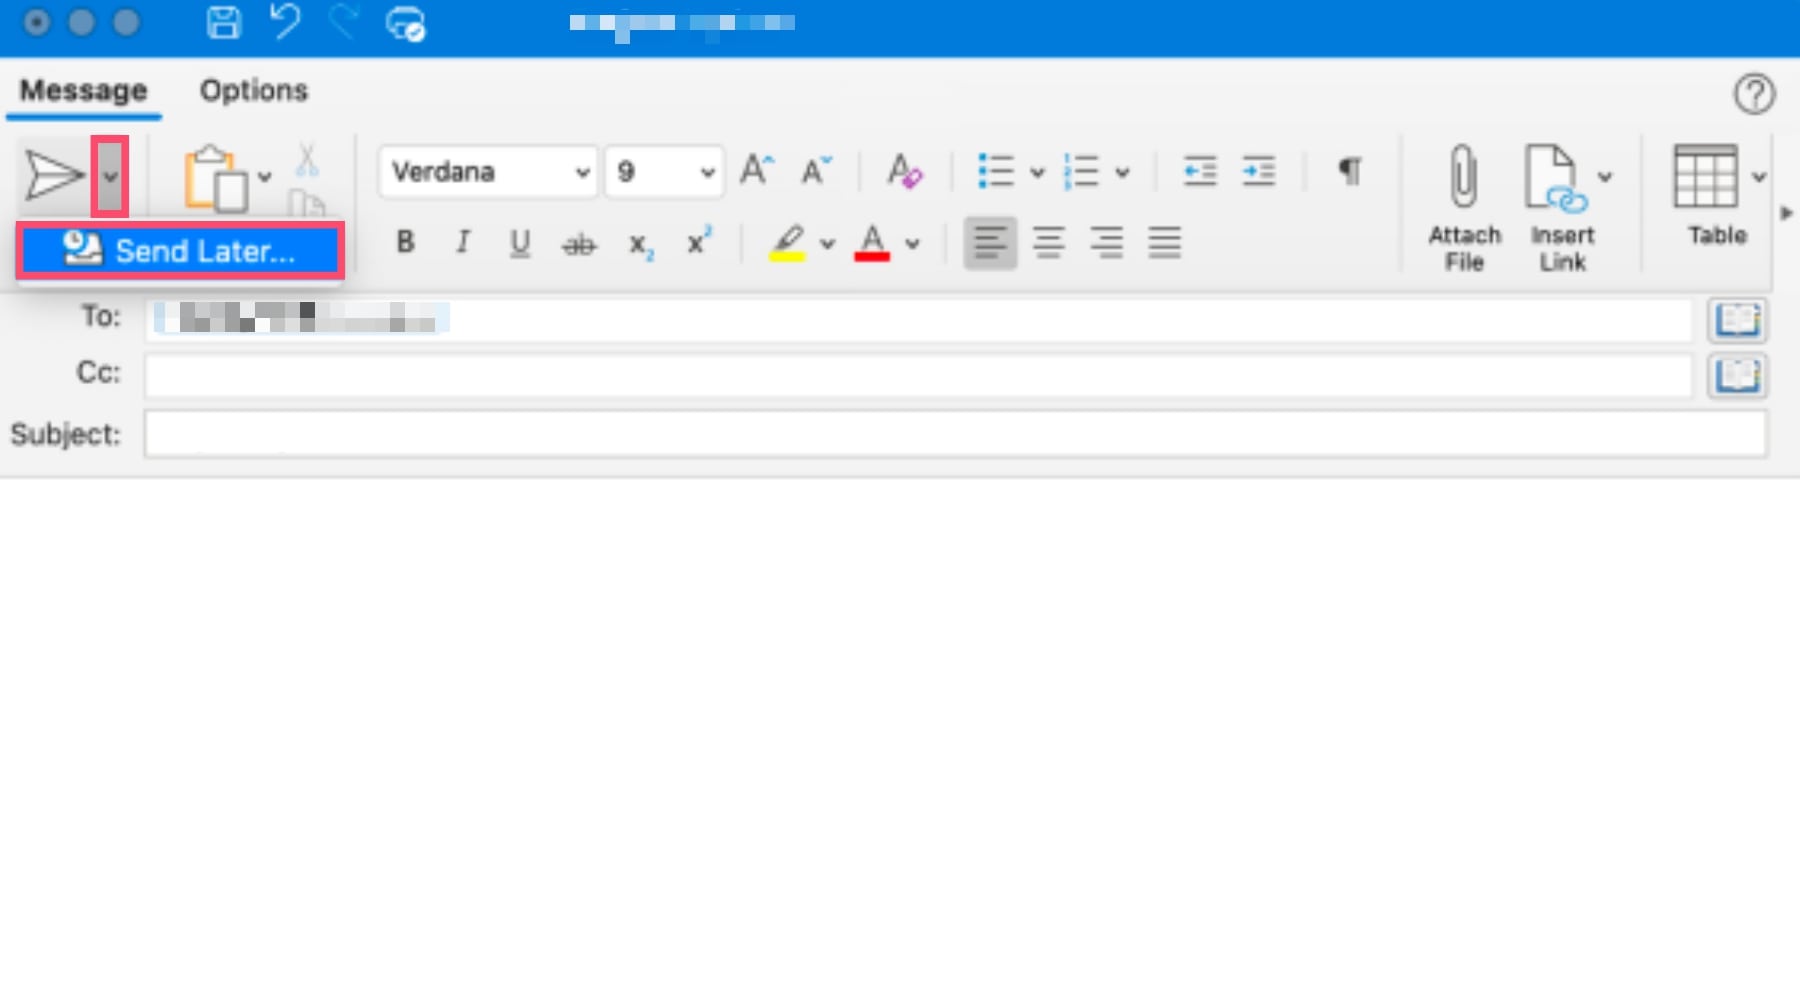
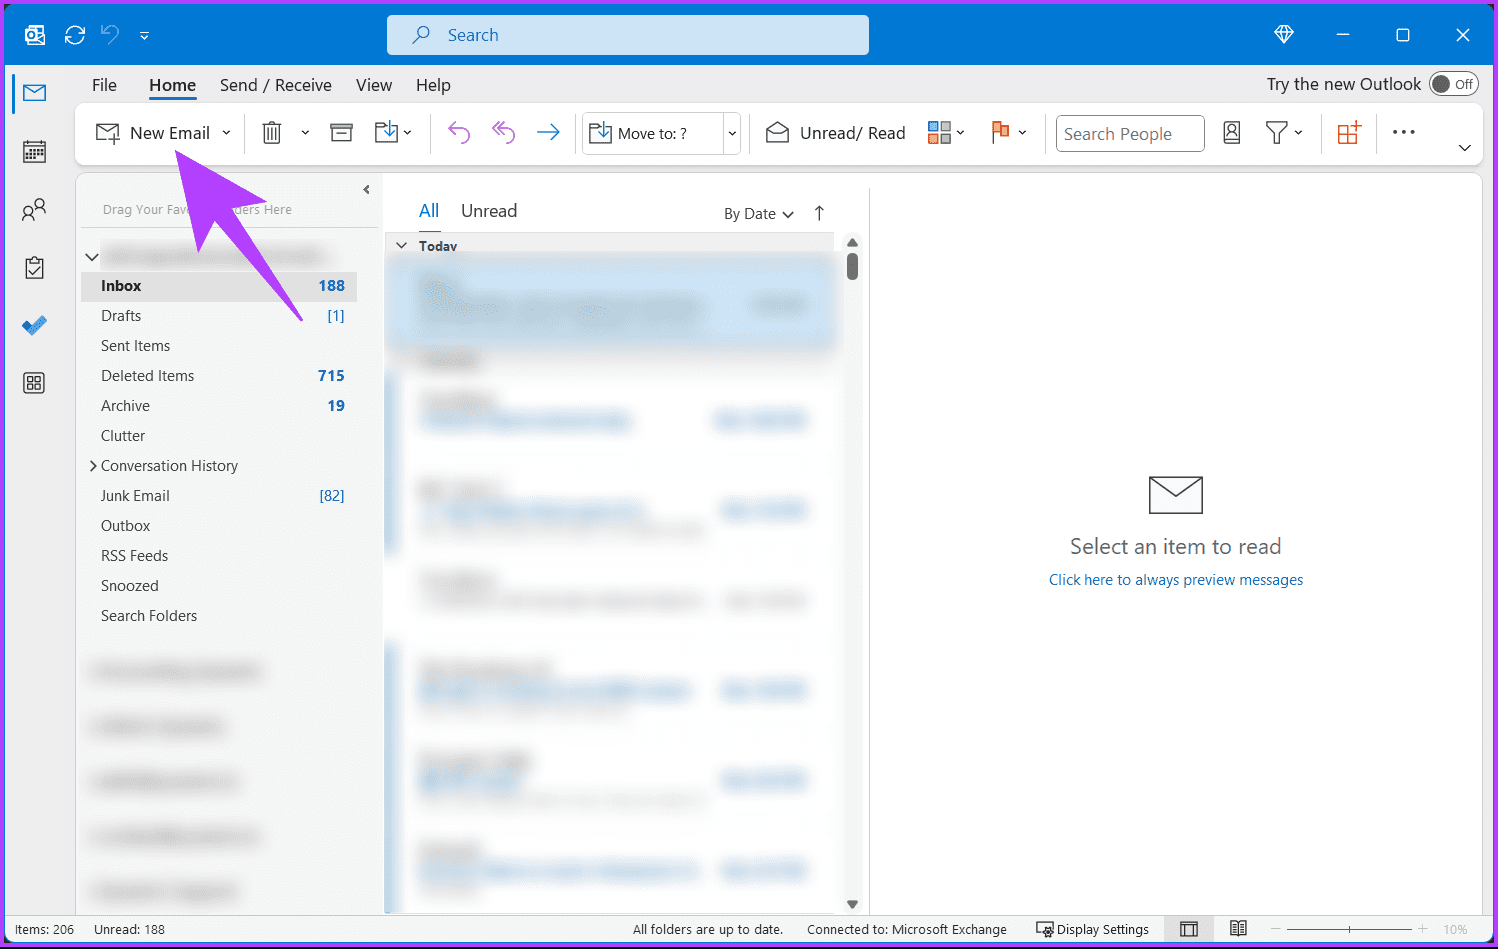
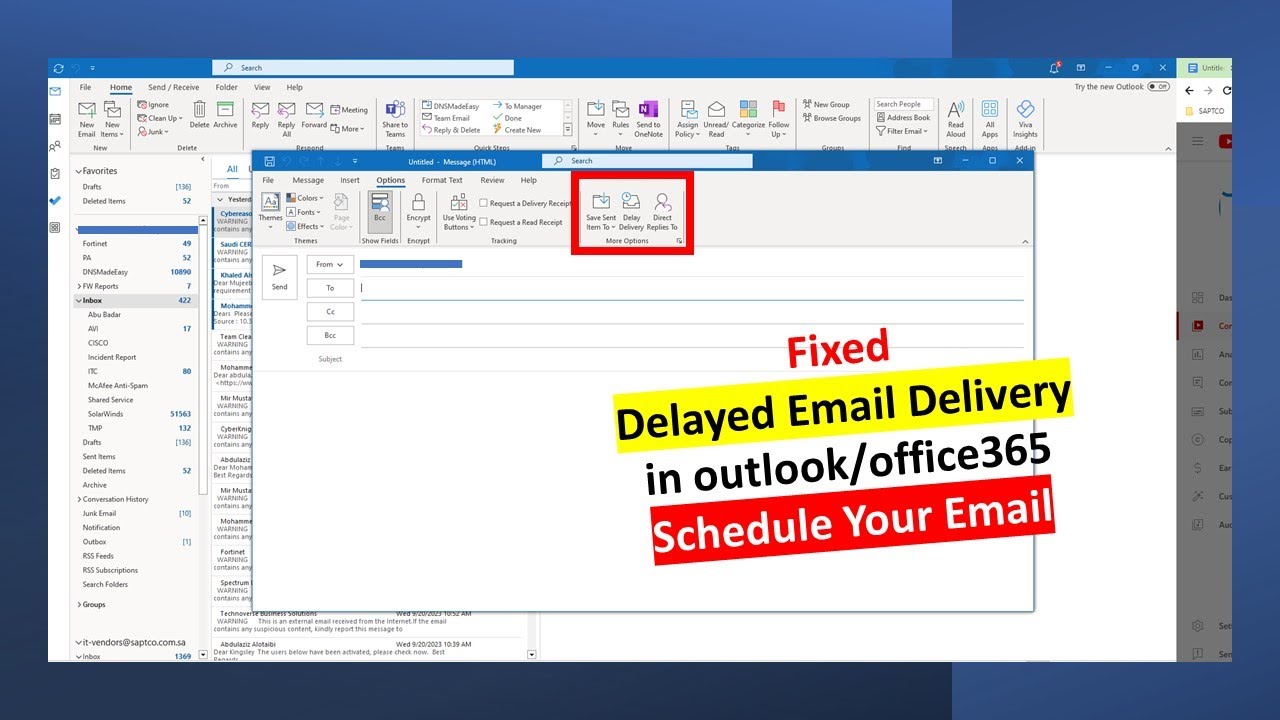
You can schedule email Outlook by selecting the Send Later command from the message’s three‑dot menu. The option appears after you click the three‑dot icon in the compose window.
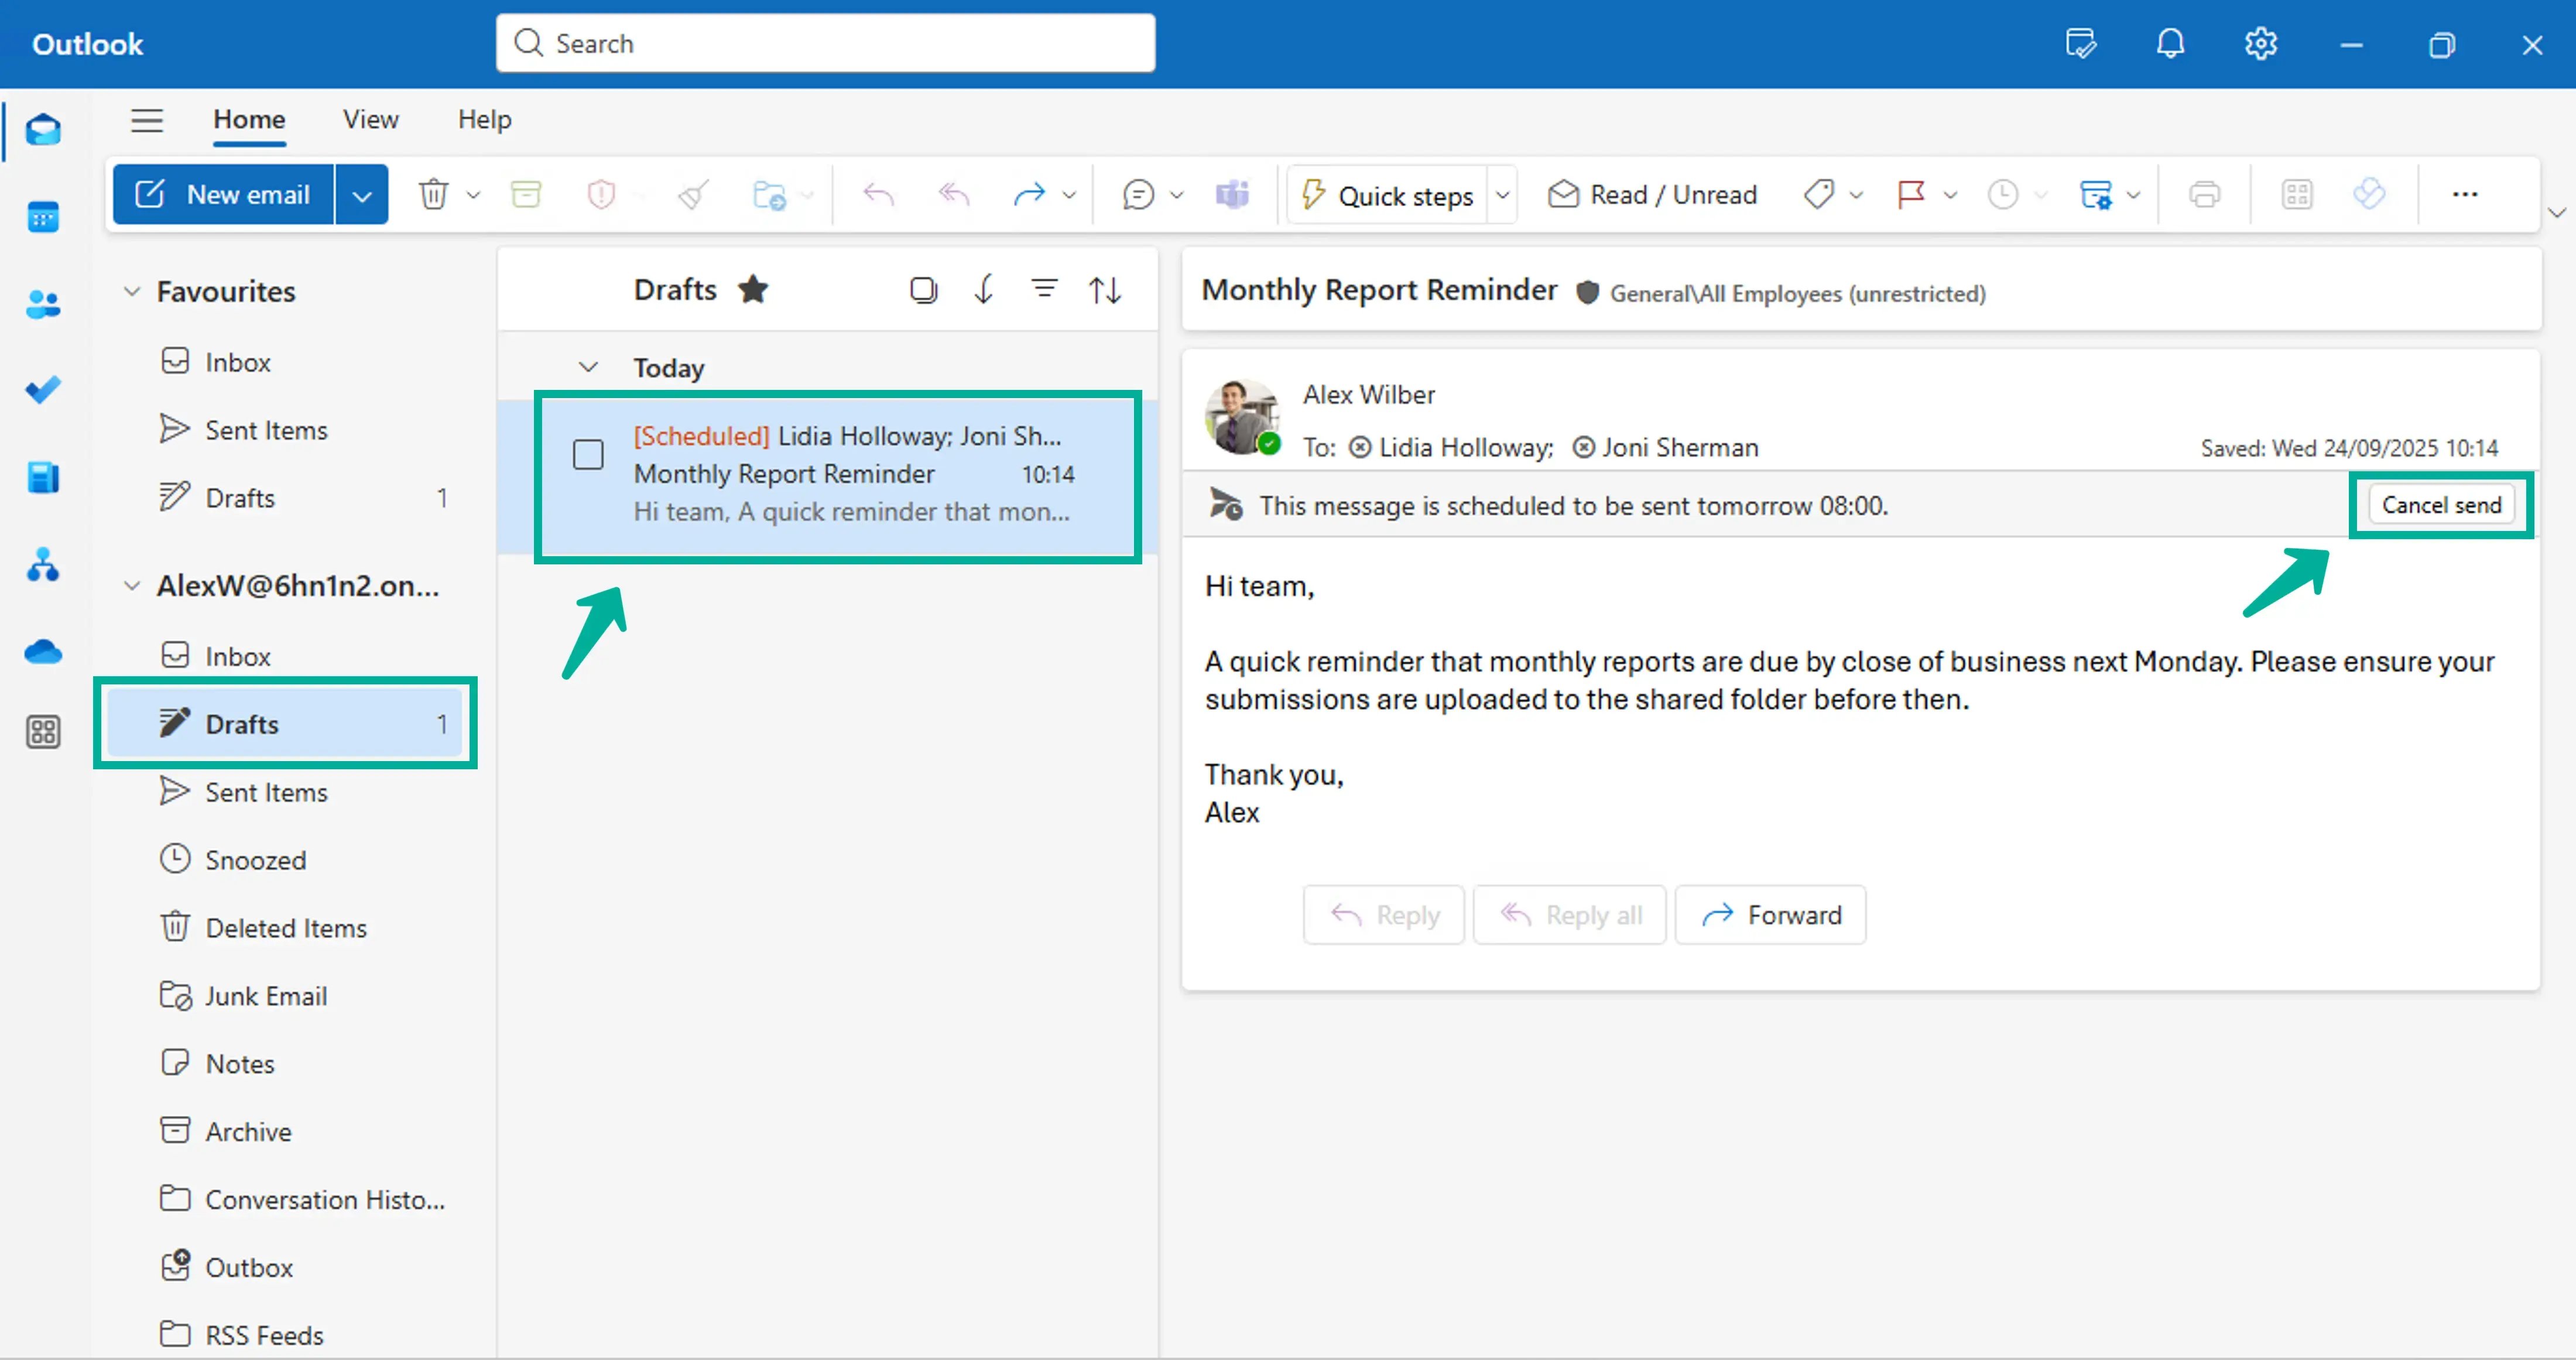
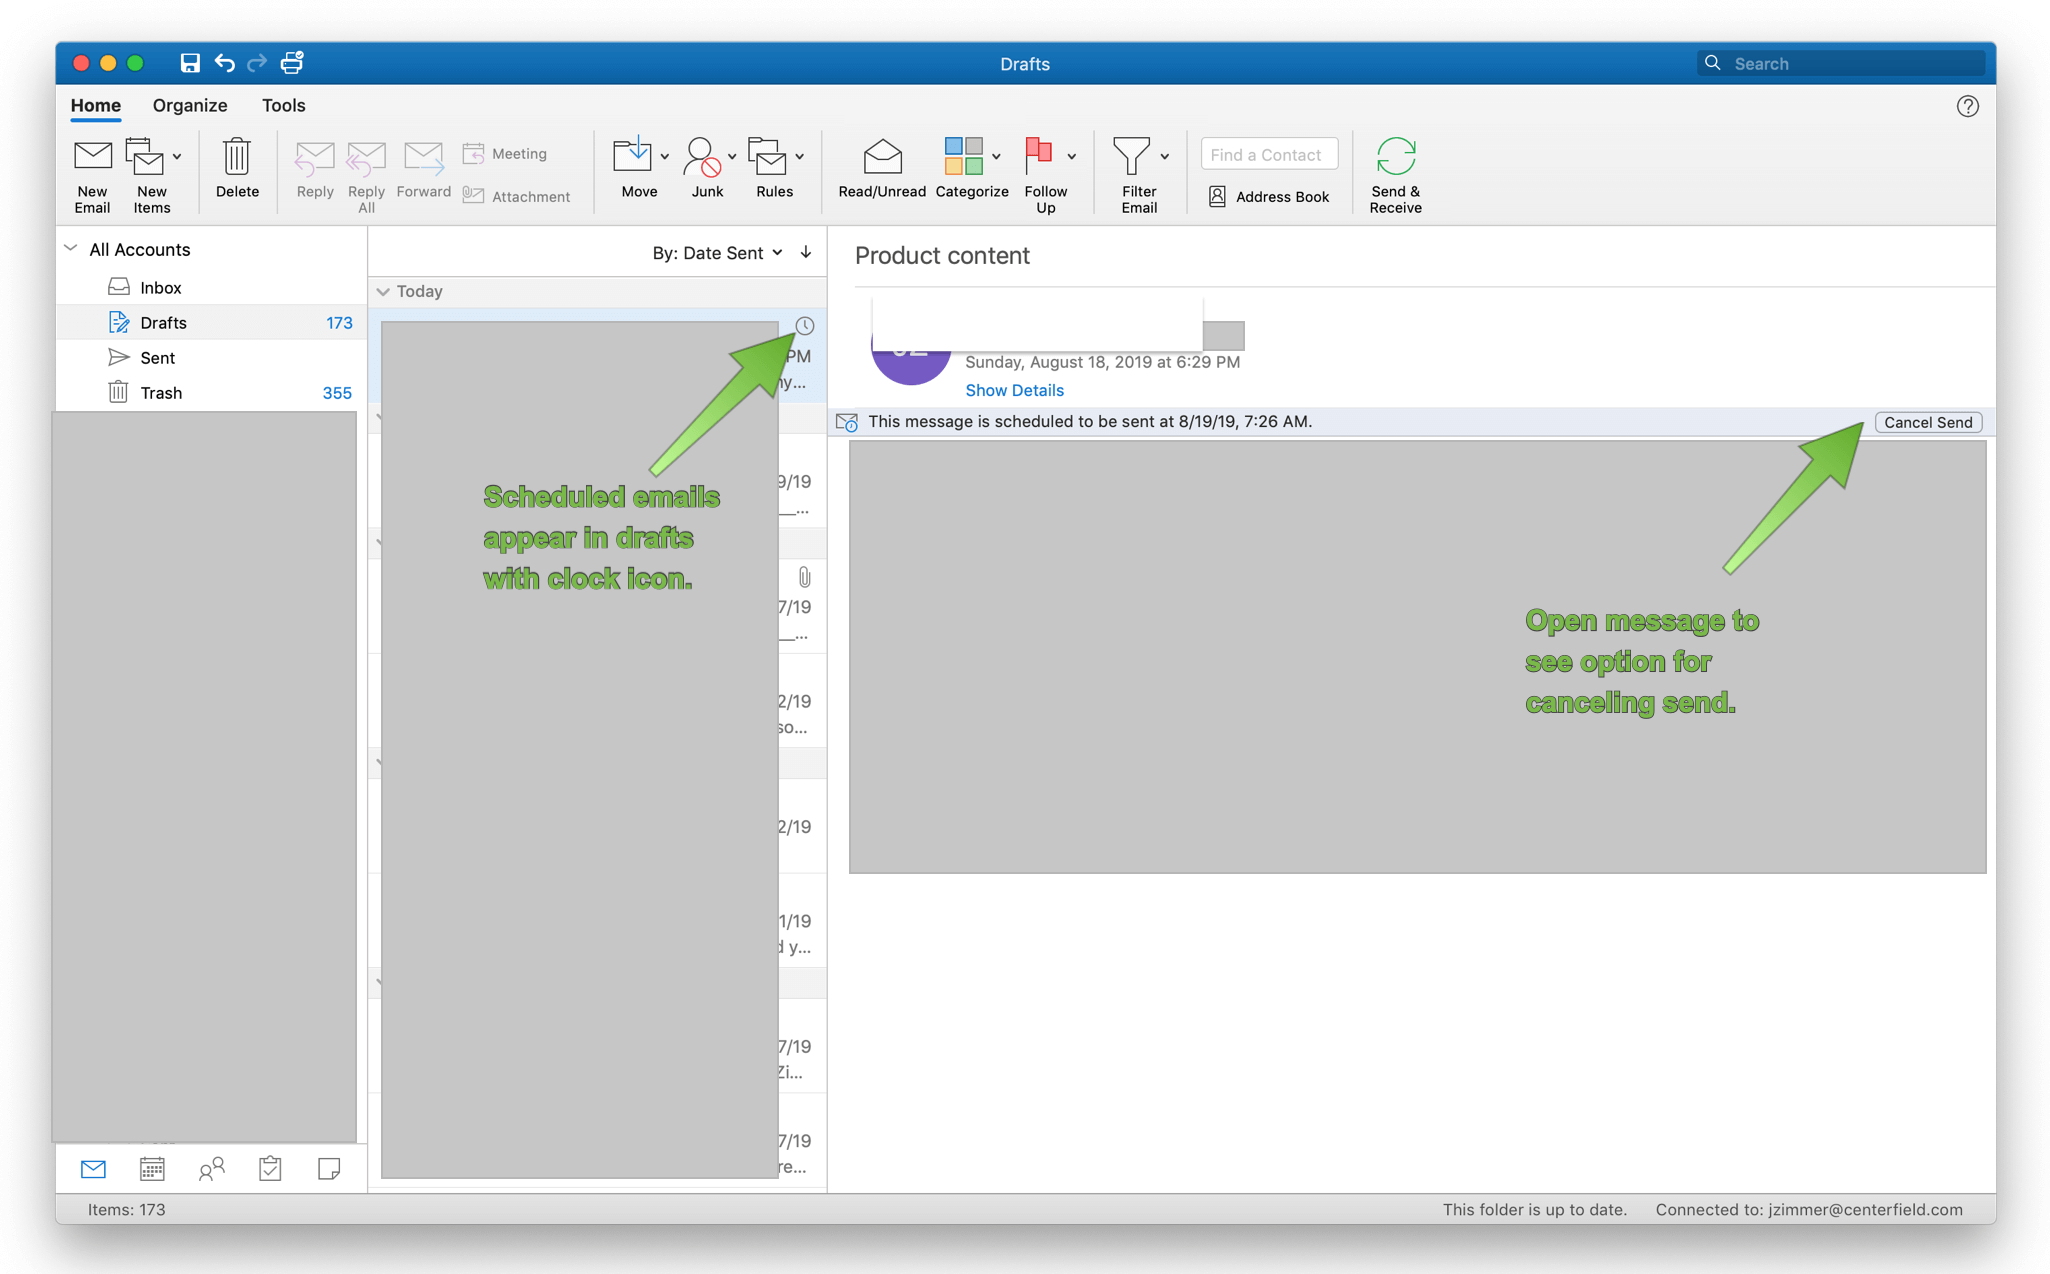
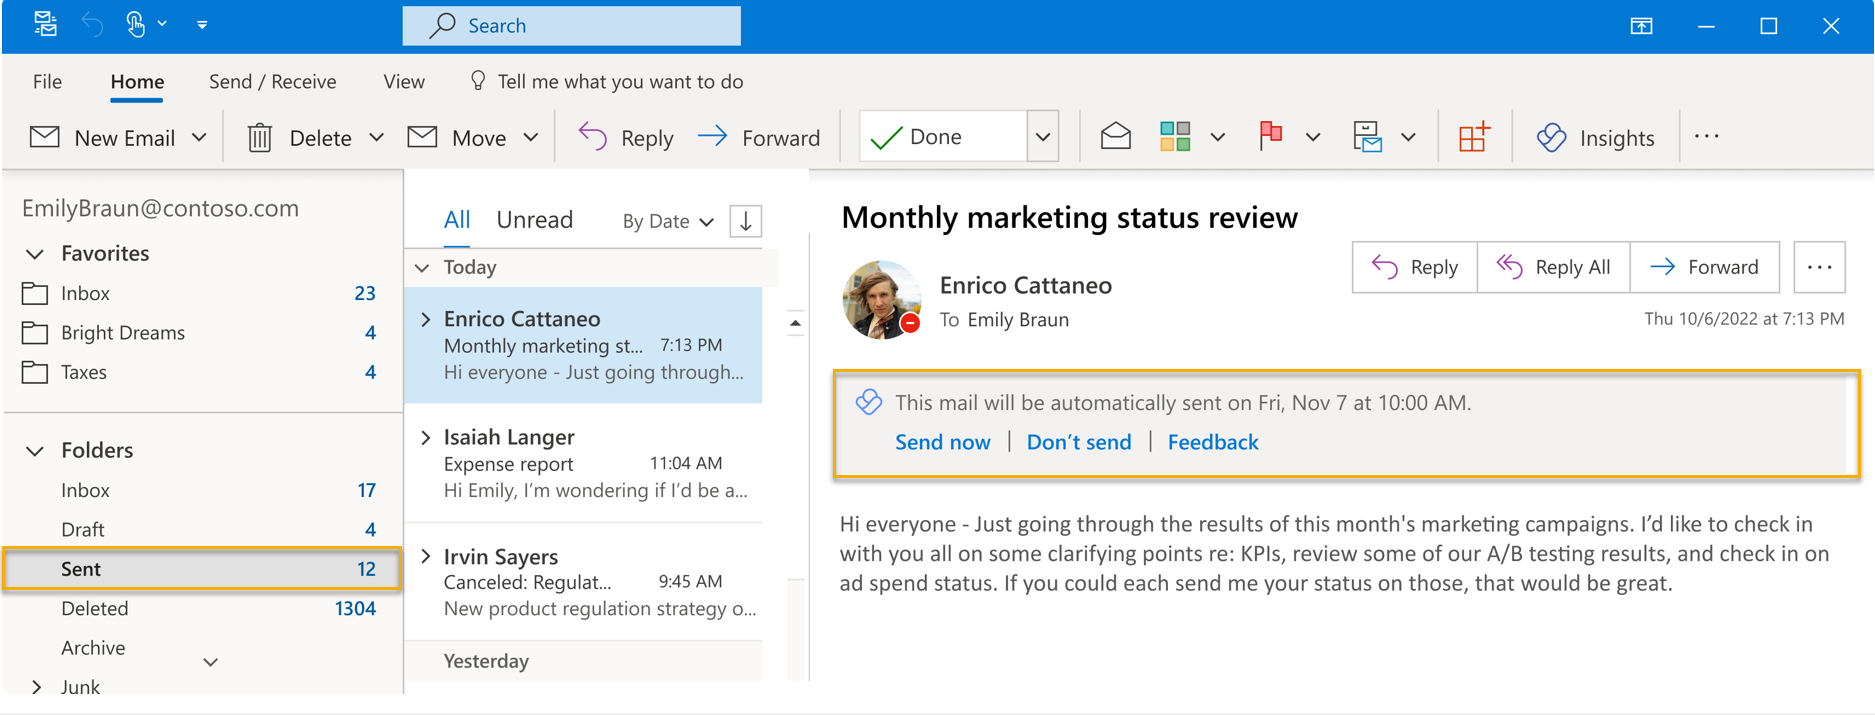
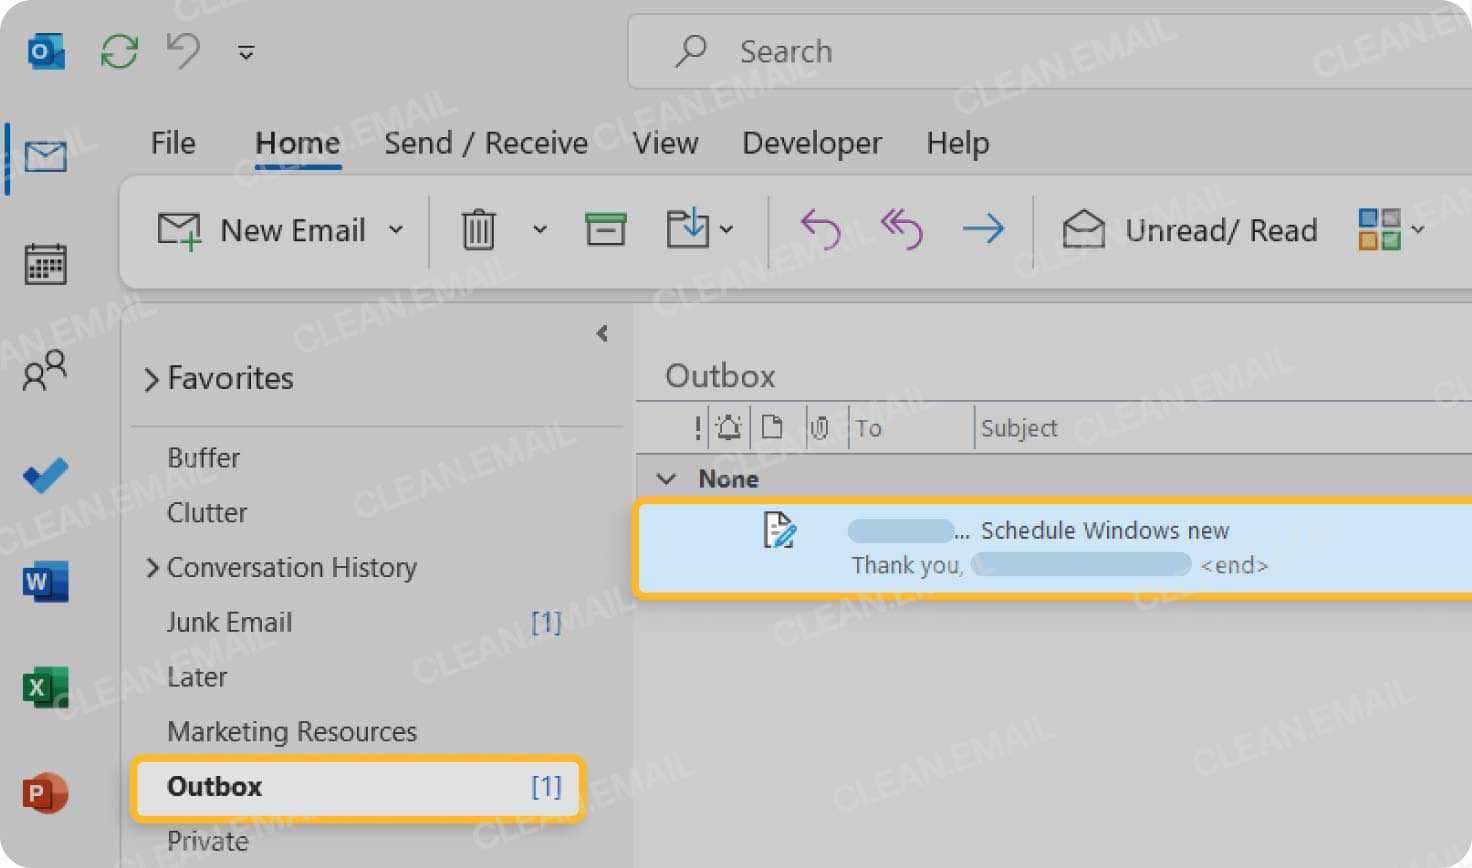
After you set the time, the email remains in the Outbox and is sent automatically at the scheduled moment. You can edit or cancel the schedule before it sends by opening the Outbox. If you change your mind, simply delete the message from the Outbox to cancel the scheduled send.
Methods compared by Outlook version and platform
New Outlook for Windows shows a Send Later button on the ribbon, while classic Outlook hides it behind the three‑dot menu. Both work the same way but the button location differs. The feature is available in all recent Outlook versions, including the web app.
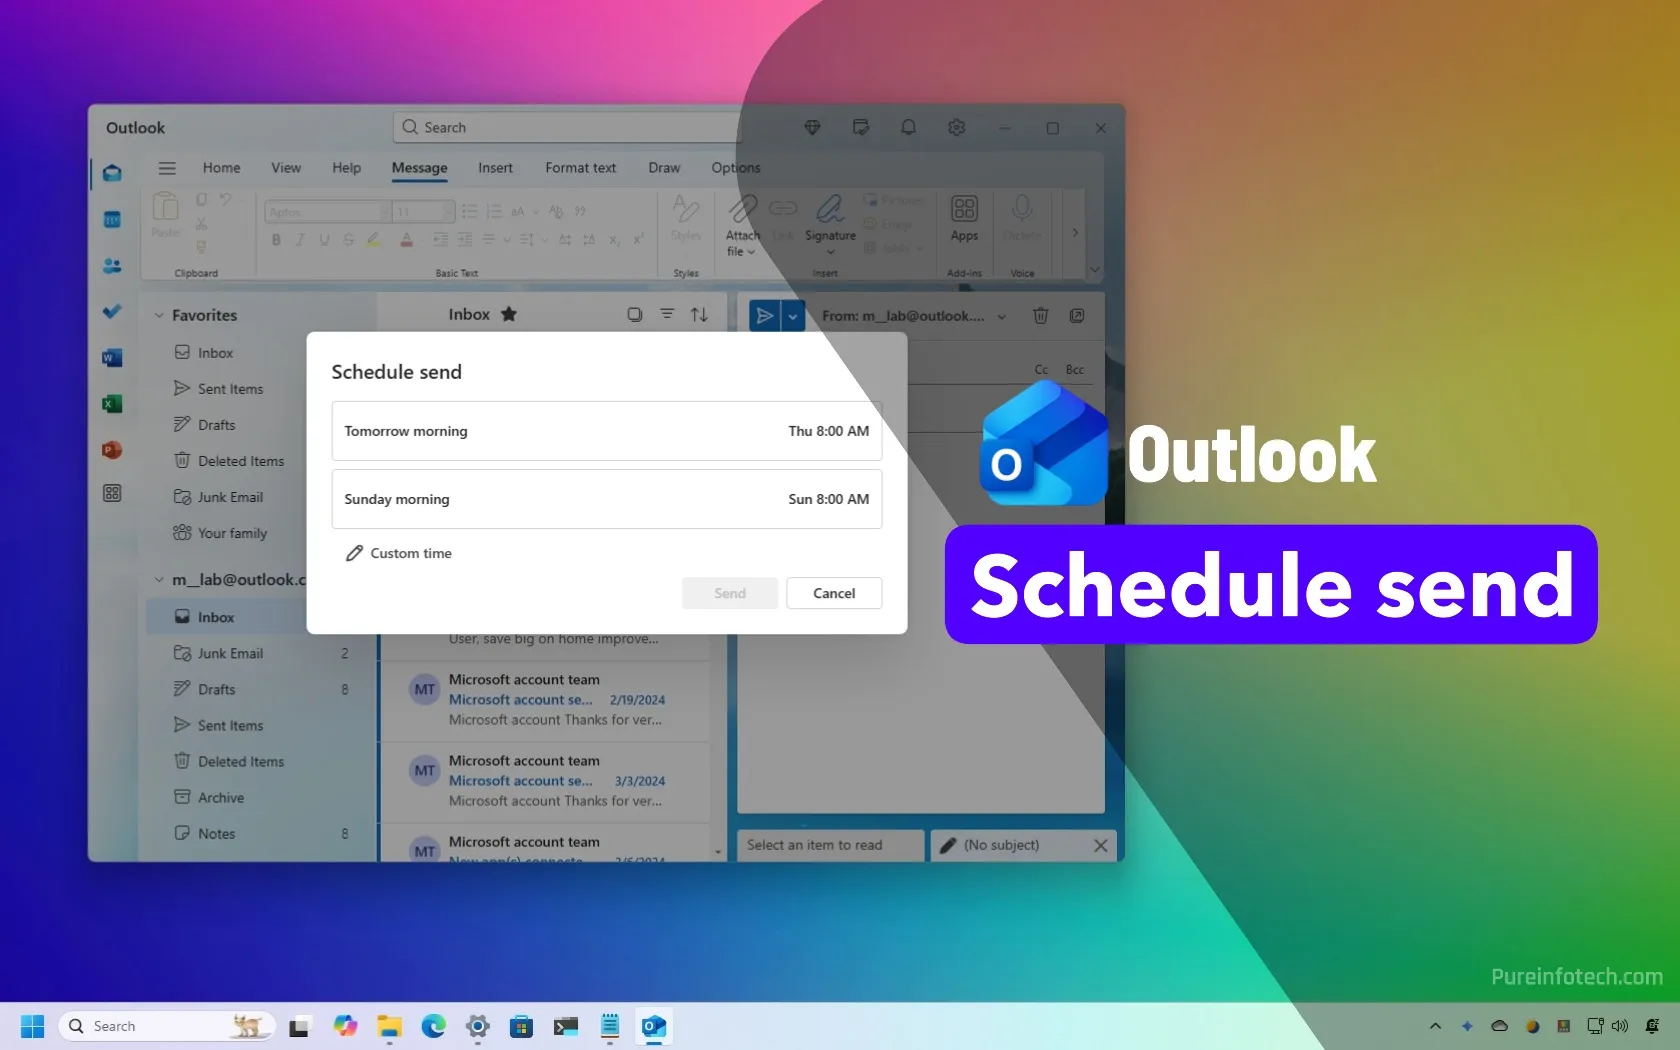
Outlook for Mac shows the Schedule Send option in the compose window’s toolbar. The workflow is identical: pick a date and time, and the message waits in the Outbox.
In the Outlook web app, the Schedule send button appears below the message body, allowing you to pick a future date and time. This works for any Microsoft 365 or Exchange account signed in to the browser.
Exchange accounts support Send Later and delayed delivery; POP/IMAP accounts cannot schedule future sends. Ensure your account type matches the requirements before using it.
Step-by-step: use the Send Later option to schedule email Outlook
Follow these steps to schedule email Outlook using Send Later. The process works in Outlook for Windows, Mac, and the Outlook web app.
- Compose your message, filling in the recipient, subject, and body. This prepares the email for the scheduled send.
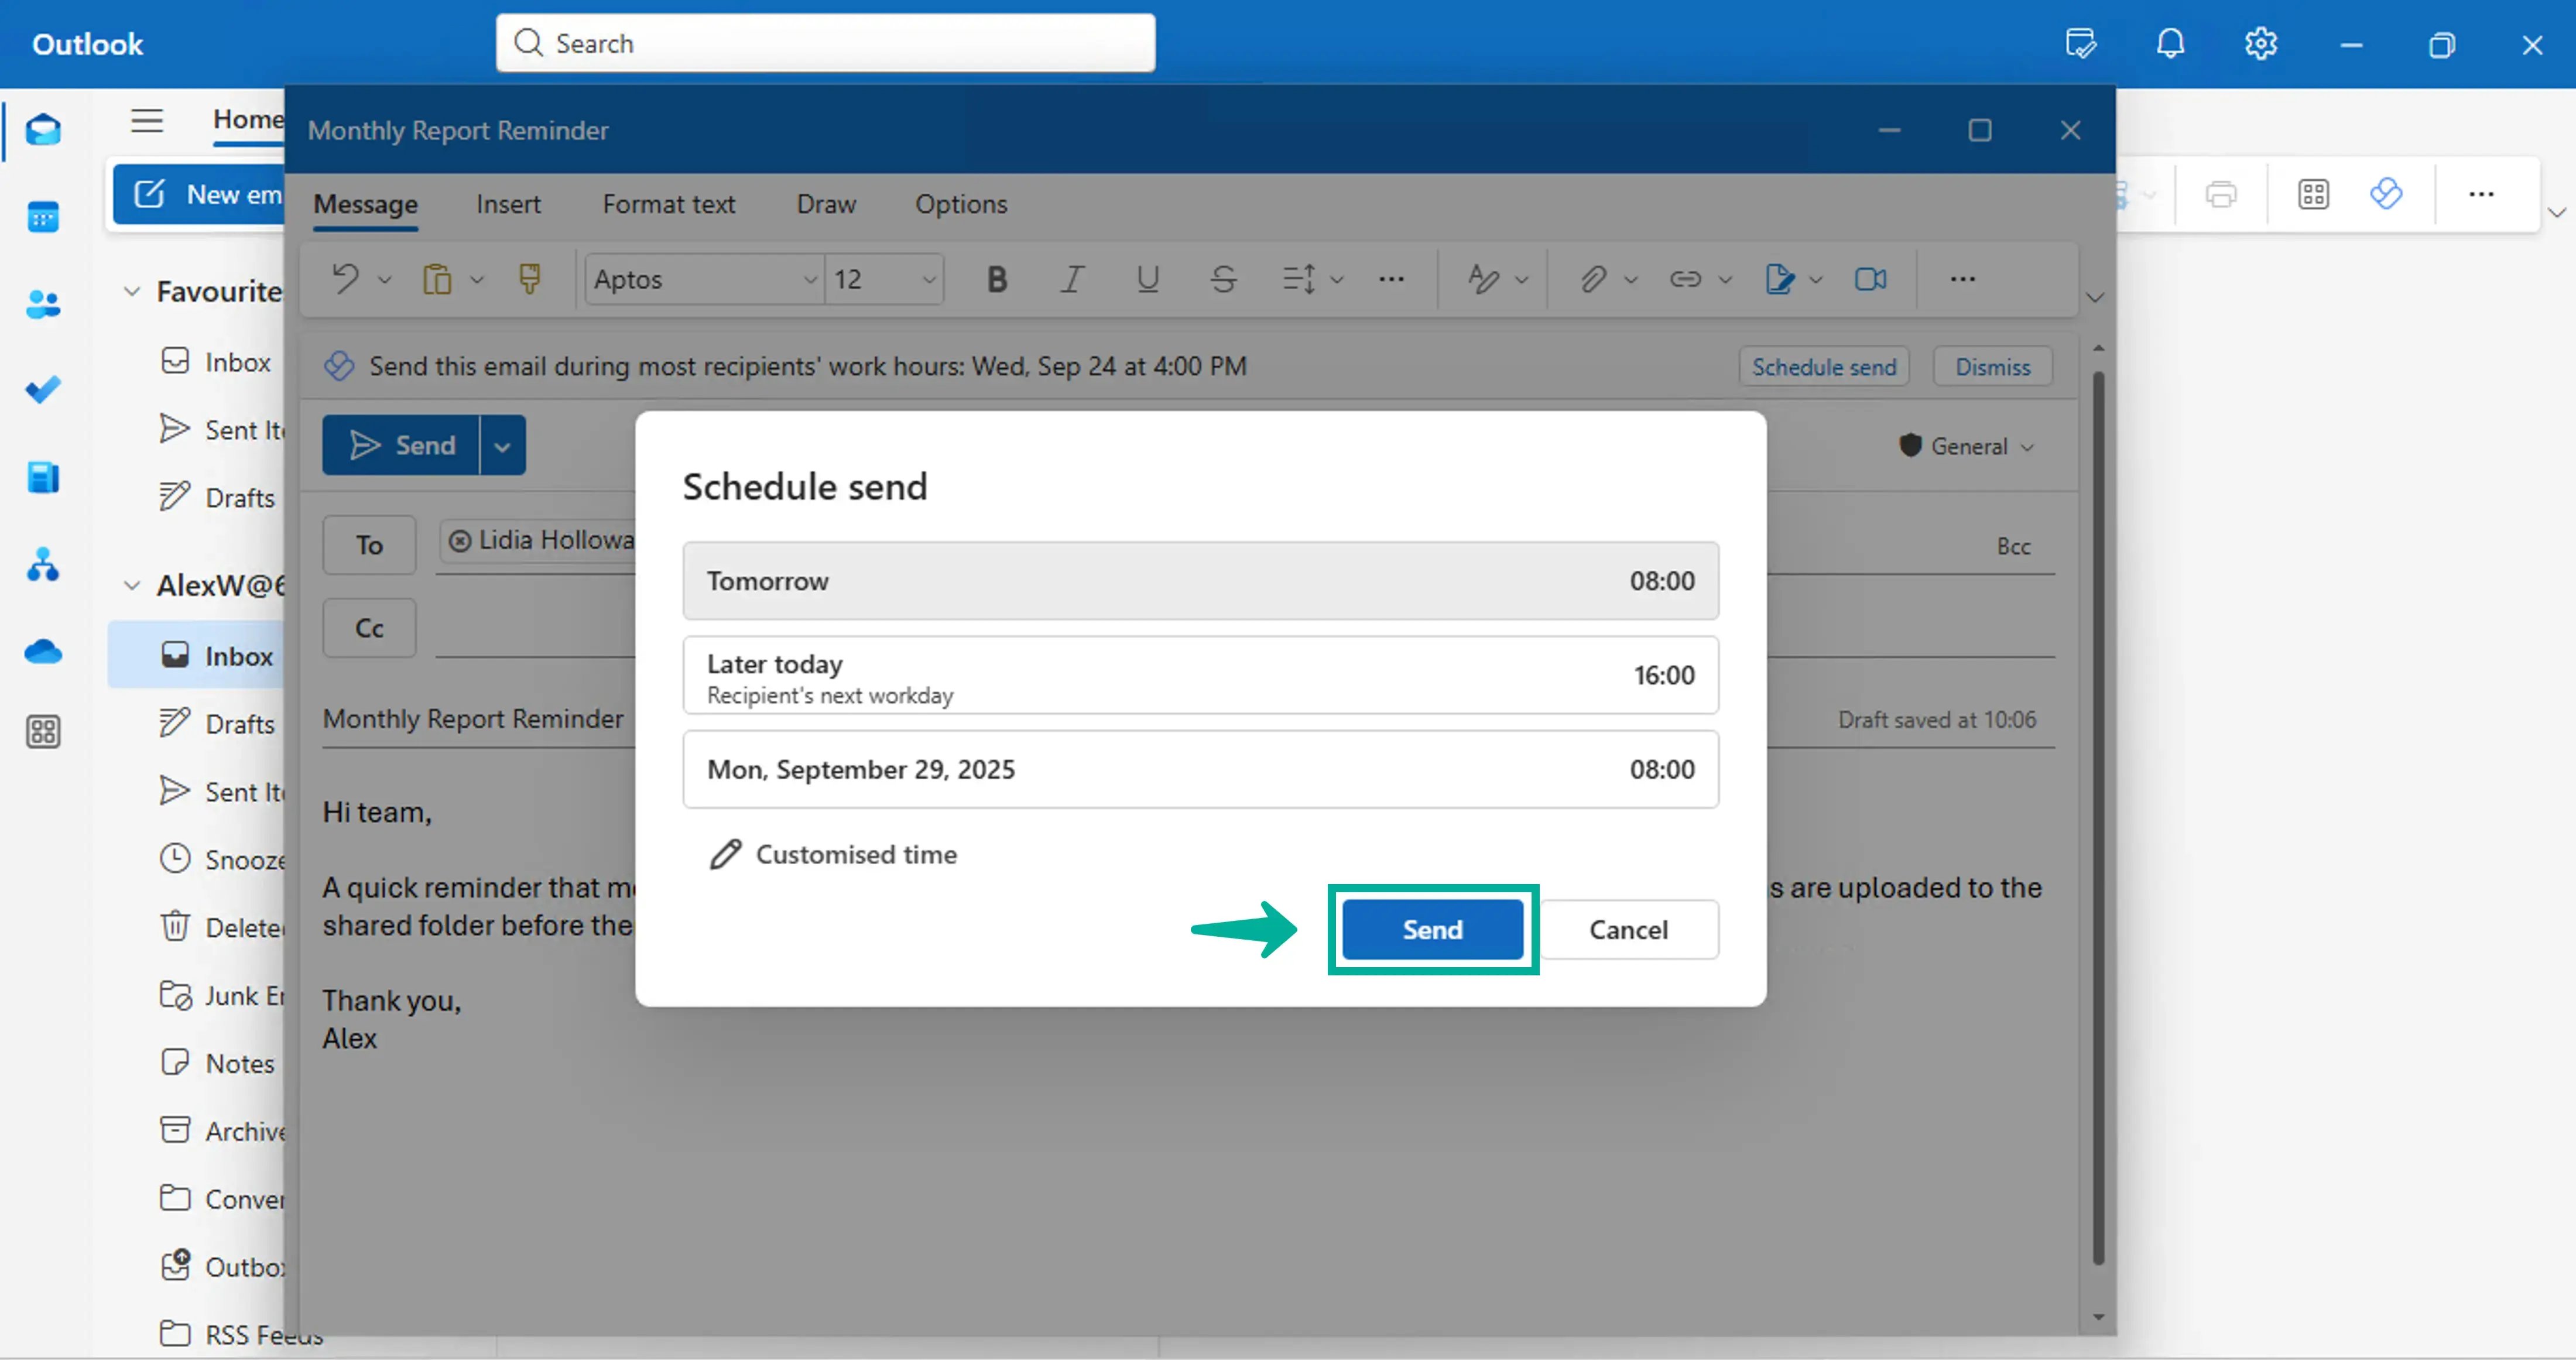
- Click the three‑dot menu (or the Send Later button) and choose “Send Later.” Selecting this option opens the date picker for scheduling.
- Select a date and time using the calendar picker for delivery. Confirming the selection sets the email to send at the chosen moment.
- Confirm your choice; the email will stay in the Outbox until the scheduled time. You can edit or cancel the schedule before it sends by opening the Outbox.
To change the time, open the Outbox, double‑click the message, adjust the date or time, and save. Cancelling means deleting the message from the Outbox.
Common mistakes and fixes for scheduled email Outlook
Choosing a time in a different zone than Outlook expects can cause the email to send too early or too late. Verify the picker shows your local zone.
Trying to schedule email on a POP/IMAP account will result in an error because the server cannot hold the message for later delivery. Switch to a Microsoft 365 or Exchange account to enable the feature. If you see an error, double‑check that your account is set to Exchange or Microsoft 365 email.
If Outlook is offline when the scheduled time arrives, the email will remain in the Outbox until connectivity is restored. Ensure your computer has an active internet connection before the scheduled send time.
Clicking the regular Send button instead of Send Later can send the message immediately. Double‑check the button label before confirming.
Prevent future issues with Outlook scheduled emails
Create a recurring reminder in your calendar to review scheduled messages the day before they send. This habit helps you catch changes in recipient availability or content updates.
Update Outlook to the latest release so Send Later works and receives fixes. Updates bring consistency across Windows, Mac, and web versions. Regular updates also improve security and performance.
For teams that schedule many messages, use Outlook on the web to batch schedule emails. The web interface shows all scheduled items in one view for easier management.
When you view the Microsoft 365 calendar, scheduled emails appear as reminder items, giving you a visual cue for upcoming deliveries. You can also add the Send Later command to the Quick Access Toolbar for faster access without opening the menu.
Try the steps on a test email first to see how they work in your own Outlook. If the menus look a bit different depending on your version, the basic process stays the same.
Bookmark this page for the next time you need to schedule a message. If anything doesn’t go as expected, the tips above should help you get it sorted.